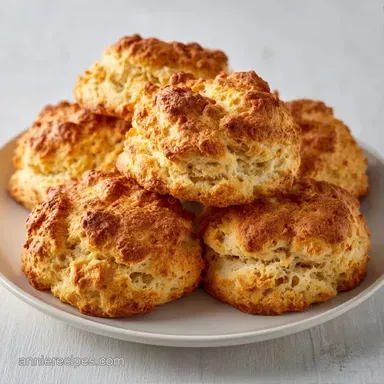
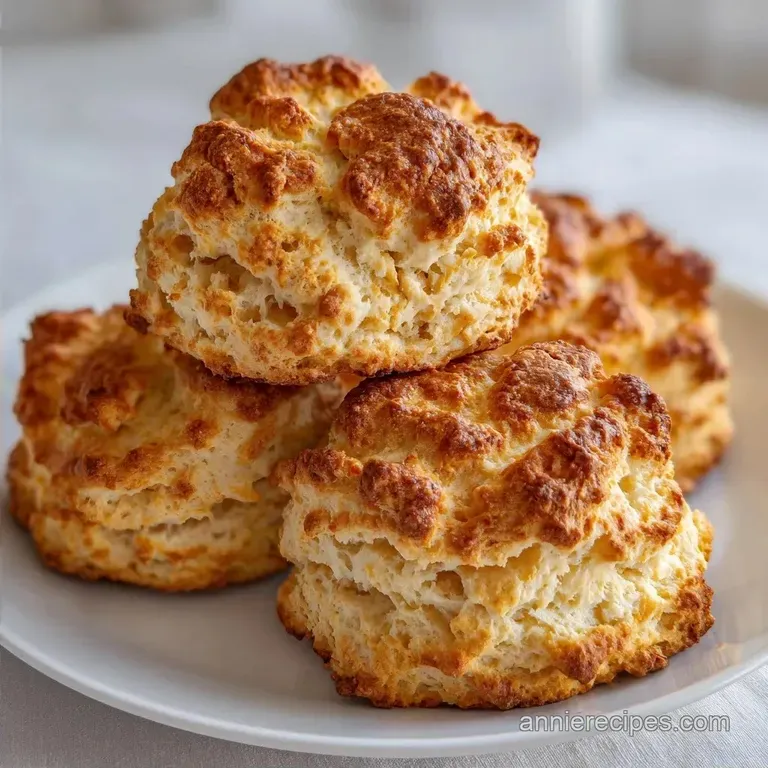
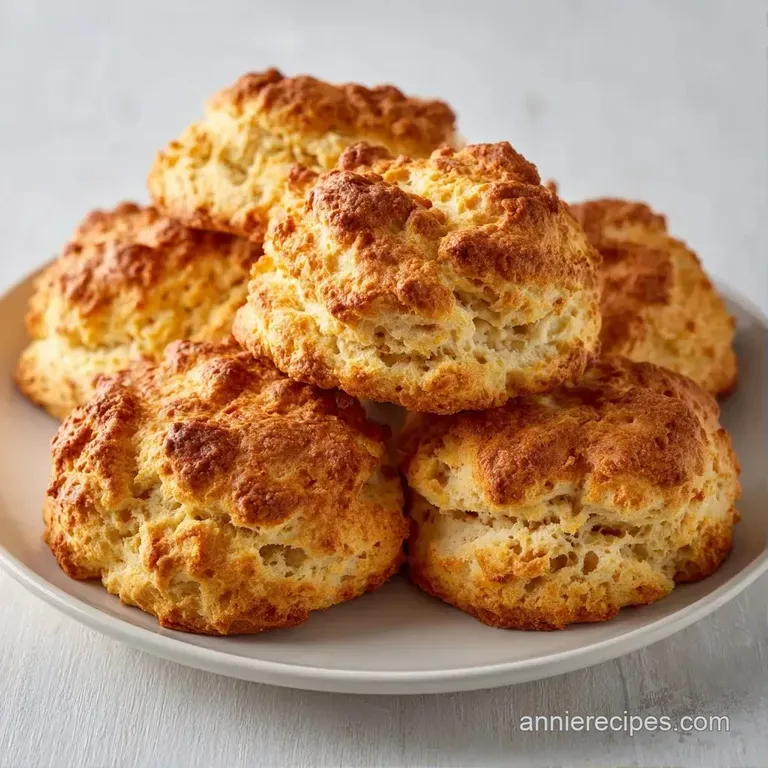
Golden Brown Shortcake Biscuits: Crisp and Fluffy
- Time:15 minutes active + 15 minutes baking
- Flavor/Texture Hook: Buttery, velvety interior with a crisp, shatter prone top
- Perfect for: Summer berry desserts or a sweet Sunday brunch
Golden Brown Shortcake Biscuits
The scent of browned butter and vanilla hitting a hot oven is a memory that takes me straight back to my grandmother's kitchen on July afternoons. I can still see the sunlight streaming through the screen door while the berries sat macerating in a bowl of sugar.
There is something about that specific aroma, a mix of toasted flour and sweet cream, that just feels like home.
When you make these Golden Brown Shortcake Biscuits, you aren't just baking a side dish. You are creating a vessel for the best parts of summer. I used to struggle with biscuits that came out like hockey pucks, but I learned that the secret isn't in a fancy tool, but in the temperature of your ingredients.
The goal here is a biscuit that looks deep gold on the outside and stays cloud like on the inside. We are aiming for a mahogany finish that provides a stark, beautiful contrast to bright red strawberries and snowy white cream.
It is a simple treat, but when done right, it turns a regular afternoon into a real celebration.
Secret to the Flaky Rise
Steam Pockets: Cold butter cubes don't melt into the flour immediately. When they hit the 425°F oven, they evaporate quickly, creating tiny pockets of steam that push the dough upward.
Acid Activation: The lactic acid in buttermilk reacts with the baking powder. This creates a flurry of carbon dioxide bubbles that keep the crumb tender and light.
Gluten Control: Minimal mixing prevents the flour from developing too many protein bonds. This ensures the biscuit shatters when you bite it rather than chewing like a piece of bread.
Layering Logic: Folding the dough over itself creates physical sheets of fat and flour. This is how you get those distinct, peelable layers instead of a uniform cake texture.
| Method | Time | Texture | Best For |
|---|---|---|---|
| Fast (Drop) | 20 mins | Craggy & Rugged | Quick weeknight treats |
| Classic (Cut) | 30 mins | Tall & Layered | Special occasions/Shortcake |
Component Analysis
| Ingredient | Science Role | Pro Secret |
|---|---|---|
| All Purpose Flour | Structure | Spoon it into the cup for a lighter lift |
| Cold Butter | Leavening/Flavor | Keep it in the fridge until the last second |
| Buttermilk | Tenderness | Use full fat for a more velvety crumb |
| Baking Powder | Lift | Check the expiration date for maximum rise |
Gathering Your Essentials
For the flour, I always suggest all purpose. If you've ever experimented with Sourdough Bread, you know how much protein affects the chew. For these biscuits, we want a lower protein count so they stay tender.
- 2 cups (250g) all purpose flour Why this? Standard protein level for a balanced crumb
- 1 tbsp (12g) baking powder Why this? Provides the primary vertical lift
- 1 tbsp (12g) granulated sugar Why this? Helps with the mahogany browning
- 1/2 tsp (3g) fine sea salt Why this? Balances the richness of the butter
- 1/2 cup (113g) unsalted butter, chilled and cubed Why this? Creates the flaky steam pockets
- 3/4 cup (180ml) cold buttermilk Why this? Tenderizes the gluten
- 1 tsp (5ml) pure vanilla extract Why this? Adds a sweet, aromatic depth
- 1 tbsp (15g) melted butter Why this? Ensures the tops brown deeply
If you run out of buttermilk, don't panic. You can make a quick version of sour milk by adding a splash of lemon juice to regular milk and letting it sit.
Equipment Needed
You don't need a professional kitchen for this. A large mixing bowl and a pastry cutter are the basics. If you don't have a cutter, two forks pressed together work just fine to break up the butter.
A 2.5 inch circular biscuit cutter is essential for those clean edges. Never twist the cutter, as that seals the edges and prevents the biscuit from rising. A parchment lined baking sheet is also a must to prevent any sticking and make cleanup a breeze.
Key Steps
Phase 1: The Cold Mix
- Combine the flour, baking powder, sugar, and salt in a large mixing bowl. Stir them together with a whisk to ensure the baking powder is evenly distributed.
- Use a pastry cutter to work the chilled butter into the flour. Stop when the mixture looks like coarse crumbs with some pea sized lumps remaining. Note: Those lumps are the secret to the flakes.
Phase 2: The Fold and Cut
- Stir in the cold buttermilk and vanilla extract. Mix just until the dough comes together. Stop mixing the moment the flour disappears.
- Turn the dough onto a lightly floured surface. Gently fold the dough over itself 3-4 times. This creates the layers that make the biscuits shatter.
- Pat the dough down to a 1 inch thickness. Press a 2.5 inch circular biscuit cutter straight down without twisting.
Phase 3: The Golden Bake
- Place biscuits on a parchment lined tray so they are just barely touching. This helps them climb each other for a taller rise.
- Brush the tops with melted butter. This is what gives them that signature glow.
- Bake at 425°F (218°C) for 12-15 minutes until the tops are mahogany colored and the edges are a deep golden brown.
Chef's Note: If you want an even deeper color, you can sprinkle a tiny pinch of coarse sugar on top of the melted butter before they go in the oven.
Common Mistakes & Troubleshooting
| Issue | Solution |
|---|---|
| Why are my biscuits pale | This usually happens because the oven temperature is too low or the butter wasn't brushed on the tops. Ensure your oven is fully preheated to 425°F. |
| Why is the texture tough or rubbery | The most common cause is overworking the dough. When you stir the buttermilk in, it's tempting to mix until it's smooth. Don't do it. A shaggy, messy dough is exactly what you want. |
| Why did my biscuits spread instead of rise | This is almost always a temperature issue. If the butter melted before the biscuits hit the oven, they will flatten. |
Common Mistakes Checklist
- ✓ Keep butter chilled until the very second it hits the flour.
- ✓ Press the cutter straight down; never twist it.
- ✓ Use a small amount of flour for dusting so you don't dry out the dough.
- ✓ Ensure biscuits are touching slightly on the tray for maximum height.
- ✓ Stop mixing the moment the dough holds together.
Dietary Adaptations
If you need to adjust this for your family, a few tweaks can make these Golden Brown Shortcake Biscuits work for everyone.
For a Lower Calorie Swap
You can replace half of the butter with Greek yogurt. This keeps the moisture high and adds a nice tang, though you'll lose some of those distinct, flaky layers. The top will be slightly paler, so be generous with the buttermilk wash.
For a gluten-free Alternative
Use a 1:1 gluten-free baking flour blend that includes xanthan gum. Since there is no gluten to overwork, you can be a bit more liberal with the mixing, but keep the butter cold to maintain the lift.
For a Cinnamon Sugar Finish
Mix 1 tablespoon of cinnamon with 2 tablespoons of sugar. Brush the finished, hot biscuits with melted butter and toss them in the mixture. This turns them from a strawberry base into a standalone treat.
Decision Shortcut
- If you want a lighter, cake like texture, use more sugar and a touch more vanilla.
- If you want a traditional, savory sweet balance, stick to the schema measurements.
- If you want a crunchier top, bake for an extra 2 minutes at 425°F.
Adjusting the Batch Size
When you need to make more or fewer Golden Brown Shortcake Biscuits, don't just multiply everything blindly.
Scaling Down (½ Batch) Use a smaller baking sheet to keep the biscuits close together. If you are using a single egg for a wash (though we use butter here), beat it first and use half. Reduce the baking time by about 20%, checking them at the 10 minute mark.
Scaling Up (2x Batch) Work in batches. If you crowd too many biscuits onto one tray, the airflow is blocked, and the sides won't brown. For a double batch, I recommend lowering the oven temperature to 400°F (200°C) and extending the time by 3-5 minutes to ensure the centers cook through without burning the tops.
| Batch Size | Temp Adjustment | Time Adjustment | Tip |
|---|---|---|---|
| 1/2 Batch | No change | -2 to 3 mins | Use a smaller tray |
| 2x Batch | -25°F (to 400°F) | +3 to 5 mins | Bake on two separate racks |
Kitchen Myths
Myth: You must sift your flour for biscuits. Truth: Sifting is great for cakes, but for these, a good whisking of the dry ingredients is enough. Too much aeration can actually make the biscuits unstable and prone to collapsing.
Myth: Room temperature butter makes a tastier biscuit. Truth: Warm butter creates a cookie, not a biscuit. For that shatter effect, the butter must be cold so it creates steam pockets.
Storage Guidelines
These are best served warm, but you can keep them for later. Store leftovers in an airtight container at room temperature for up to 2 days. In the fridge, they'll last 5 days, but they will lose that crispness.
For long term storage, freeze them after baking. Wrap them individually in foil and place them in a freezer bag for up to 3 months. To reheat, pop them in a 350°F (180°C) oven for 5-8 minutes. This brings back the crunch and the buttery aroma.
Zero Waste Tip If you have leftover buttermilk, don't toss it. It's a fantastic marinade for chicken or a way to add tenderness to your next batch of pancakes. You can also use the leftover flour butter crumbs from your workspace to thicken a homemade gravy.
What to Serve This With
To really make these Golden Brown Shortcake Biscuits shine, you need a strategy for color balance. The deep mahogany of the biscuit needs bright accents to look appetizing on the plate.
The Classic Strawberry Shortcake The most traditional pairing is a mound of macerated strawberries. The bright red berries provide a sharp visual contrast to the gold biscuit. Top it with a dollop of velvety whipped cream and a single leaf of fresh mint for a pop of green.
This combination of red, white, and gold is timeless.
The Savory Sweet Brunch If you want something different, split the biscuit and top it with a slice of salty prosciutto and a drizzle of honey. The saltiness cuts through the butter, and the honey echoes the sweetness of the biscuit.
Other Pairings These also work beautifully with a side of fresh blueberries or a slice of ripe peach. If you're looking for another dessert idea, you might enjoy my Classic Homemade Shortcake for a slightly different take on the berry and cake combo. Just remember to keep your berries fresh and your cream cold for the best experience.
Recipe FAQs
How to get golden brown biscuits?
Preheat your oven to 425°F and brush the tops with melted butter. These two steps ensure the biscuits achieve a mahogany color and deep golden edges.
Is shortcake biscuit the same as shortbread?
No, this is a common misconception. Shortcakes are leavened biscuits made with baking powder and buttermilk, while shortbread is a dense, crumbly cookie without leavening.
What kind of biscuit is best for strawberry shortcake?
A tall, fluffy biscuit with a slight sweetness. It needs enough structural integrity to hold juicy berries without becoming soggy.
What are common biscuit mistakes?
Overmixing the dough and under heating the oven. Stirring until the batter is smooth makes the texture rubbery, and a low oven temperature prevents the biscuits from rising.
How to make shortcakes?
Cut chilled butter into flour, sugar, salt, and baking powder. Stir in buttermilk and vanilla, fold the dough to create layers, cut into circles, and bake at 425°F for 12-15 minutes.
How do you make a strawberry shortcake?
Split the baked biscuits in half and fill them with strawberries. This simple assembly allows the buttery biscuit to complement the fresh fruit.
What is the tried and-true best recipe for shortcake?
A traditional buttermilk based recipe. If you enjoyed mastering the layering technique here, see how the same principle works in our tender shortcake version.
Golden Brown Shortcake Biscuits