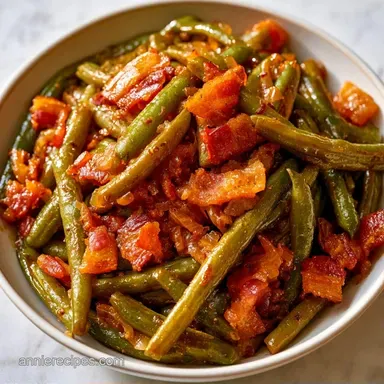
Canned Green Beans with Smoky Bacon
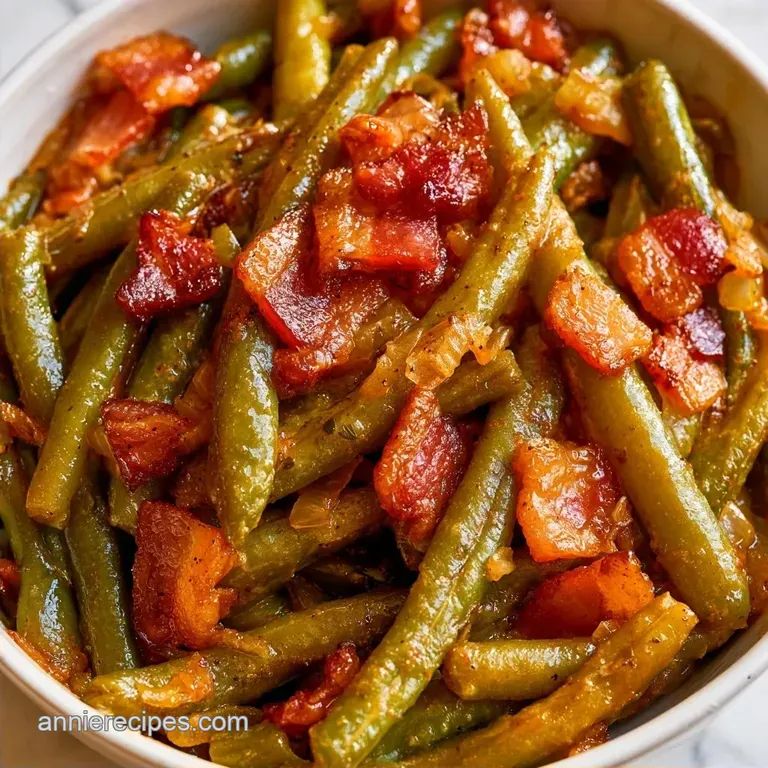
- Prep: 5 minutes | Stove: 10 minutes
- Profile: Smoky, zesty and slightly seared
- Best for: Busy weeknights or holiday sides
For a long time, I saw canned green beans as a desperate measure the kind of side you zap in the microwave and eat in silence. They were always mushy, and that metallic aftertaste persisted regardless of how much seasoning I used. Eating them felt more like an obligation than a meal.
Everything changed when I started treating them as if they were fresh. Rather than boiling or microwaving, I began searing them in bacon fat. The results were incredible; the beans maintained their structure, and the smokiness of the fat completely neutralized any canned flavor.
You don't need specialized equipment for this to succeed. It's a simple one-pan recipe that takes roughly 15 minutes overall. It turns a basic pantry staple into a dish that tastes like it came from a professional kitchen.
Better Ways to Cook Canned Green Beans
The Cold Rinse: Rinsing the beans washes away the salty brine and that metallic tang. It gives you a clean slate so the butter and bacon can actually taste like something.
High Heat Searing: Canned vegetables are already soft. Using medium high heat browns the outside quickly without overcooking the inside, which keeps them from turning into mush.
| Fresh Beans | Canned Shortcut | Difference |
|---|---|---|
| 20-30 min prep/cook | 15 min total | Canned is much faster |
| Snap and crunch | Tender and soft | Fresh has more "bite" |
| Seasonal availability | Always in pantry | Canned is more reliable |
I've found that using a wide skillet is the key. If you crowd the pan, the beans steam instead of sear, and you lose those golden brown edges.
Recipe Specs
For the best results, make sure your bacon is thick cut. Thin bacon burns too quickly and doesn't provide enough rendered fat to coat the beans. If you're making this for a crowd, you can easily double the batch, but work in two separate pans so the beans don't boil in their own juices.
The Ingredient Deep Dive
| Ingredient | Role | If You Don't Have It |
|---|---|---|
| Canned Green Beans | Main base | Frozen cut beans (thaw first) |
| Thick cut Bacon | Fat and smokiness | Smoked paprika + Olive oil |
| Yellow Onion | Sweet aromatic | Shallots or white onion |
| Unsalted Butter | Richness and gloss | Ghee or margarine |
I usually keep a few cans of these in the back of the cupboard. They're a lifesaver when I forget to shop for fresh produce. This approach makes them feel like a deliberate choice rather than a backup plan.
Essential Tools
You only need a few basics for this. A large stainless steel or cast iron skillet is best because it holds heat well. A slotted spoon helps you pull out the bacon bits without losing the fat. A colander is a must for rinsing the beans thoroughly.
The Pantry List
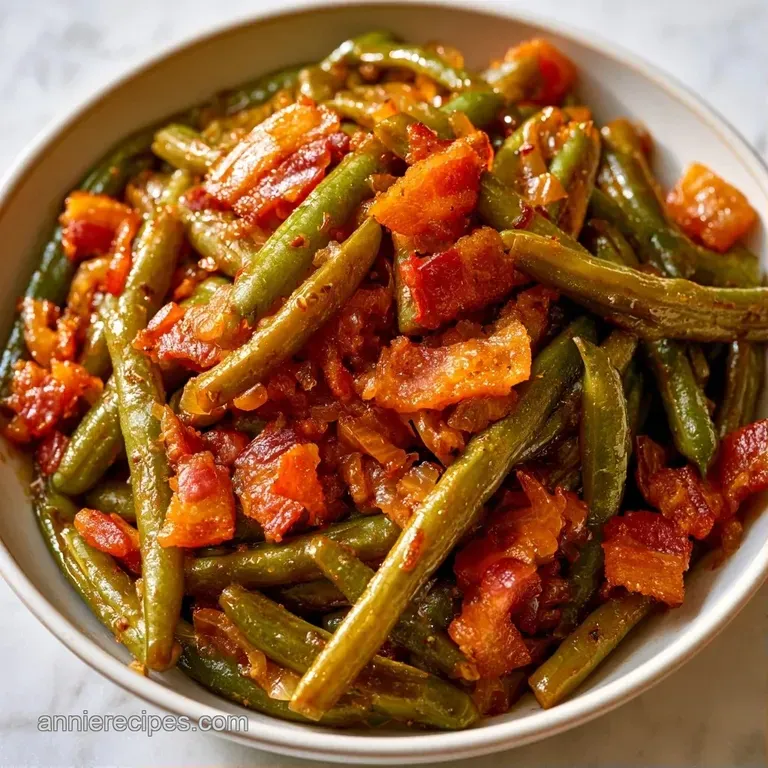
- 2 (14.5 oz) cans sliced canned green beans, drained and rinsed
- 4 thick cut bacon slices, diced Why this? Supplies the fat needed for searing
- 1 small yellow onion, finely chopped
- 3 garlic cloves, minced
- 2 tbsp unsalted butter Why this? Creates a rich, glossy glaze
- 1/2 tsp cracked black pepper
- 1/4 tsp smoked paprika
- 1 tbsp fresh lemon juice Why this? Balances out the heavy bacon fat
Cooking Steps
- Place the diced bacon in a cold skillet over medium heat. Cook, stirring occasionally, until the bacon is crisp and the fat has rendered. Note: Starting with a cold pan helps the fat melt slower.
- Remove the bacon bits with a slotted spoon, leaving the rendered fat in the pan.
- Add the diced onions to the bacon fat and sauté for 3-5 minutes until translucent and golden brown.
- Increase heat to medium high and add the rinsed Canned Green Beans.
- Stir fry for 4-6 minutes until heated through and slightly seared.
- Stir in the butter, minced garlic, black pepper, and smoked paprika.
- Cook for 60 seconds until the butter is velvety and garlic is fragrant.
- Remove from heat.
- Stir the crispy bacon bits back into the pan.
- Drizzle with fresh lemon juice and serve immediately.
Fixing Canned Green Beans Issues
The biggest hurdle with Canned Green Beans is the texture. Since they're already cooked, you're essentially just reheating them and adding flavor. If you treat them like raw beans, they'll fall apart.
Avoiding Mushy Beans
Don't stir too often. Let the beans sit against the hot pan for a minute or two to get a sear. If you keep tossing them, they'll break.
Handling Excess Salt
Since the beans are canned, they already have sodium. Avoid adding salt until the very end. Taste them first, then decide if they need a pinch more.
Fixing Burnt Garlic
Garlic burns in seconds. That's why we add it at the very end with the butter. If it burns, it turns bitter, and you'll have to start the aromatic base over.
| Problem | Root Cause | Solution |
|---|---|---|
| Mushy texture | Over stirring or too much heat | Stir less, use medium high sear |
| Metallic taste | Not rinsing enough | Rinse under cold water for 60 seconds |
| Bland flavor | Lacking acidity | Add an extra squeeze of lemon juice |
If you find the flavor is still too "canned," a teaspoon of apple cider vinegar can also do the trick. It works similarly to the lemon juice by brightening the whole dish.
Tasty Flavor Twists
For a more hearty side, you can try a Canned Green Beans and Potatoes Recipe. Just dice a gold potato into very small cubes and sauté them in the bacon fat before adding the onions. Give the potatoes about 8 minutes to brown before proceeding with the rest of the steps.
If you want something more traditional, Canned Green Beans with Bacon and Onions can be made Southern style by adding a splash of chicken broth and simmering for 5 minutes. This creates a slight sauce that's great over mashed potatoes.
For those looking for Healthy Canned Green Bean Recipes, swap the bacon for olive oil and use smoked paprika to keep the smoky vibe. You can also add sliced almonds at the end for a bit of crunch. If you prefer a creamier version, check out my Green Bean Casserole recipe for a different take on the pantry staple.
| Budget Option | Premium Swap | Impact | Savings |
|---|---|---|---|
| Yellow Onion | Shallots | Sweeter, more refined flavor | ~$1.00 |
| Butter | Grass fed Butter | Richer, deeper yellow color | ~$0.50 |
| Lemon Juice | Fresh Lime | Zestier, tropical note | ~$0.20 |
When scaling this recipe down, just use one can of beans and two slices of bacon. Reduce the onion and garlic by half. If you're scaling up to four cans, use two large pans. Trying to fit that many beans in one skillet will lead to steaming instead of searing.
Storage and Leftovers
Keep any leftovers in a glass jar in the refrigerator for as long as 3 days. While the beans may soften a bit as they soak in the butter and fat, they still taste delicious.
To reheat, warm them in a skillet over medium heat for 3-5 minutes. Steer clear of the microwave, as it can make the beans mushy; a quick pan-fry restores the sear.
To minimize waste, don't discard the leftover bacon grease if you prepared a large batch. Keep it in a small jar in the fridge to sauté eggs or roast carrots. Also, remember to rinse the cans before recycling. Food safety tip Home canning is safest when you follow research tested recipes and proper processing times according to the USDA Complete Guide to Home Canning.
Serving Suggestions
These canned green beans are an ideal side for hearty meats. They pair wonderfully with a Beef Stew Classic or a grilled ribeye steak, as the lemon juice helps cut through the richness of the beef.
When preparing a Sunday roast, arrange these on a platter with roasted carrots and parsnips. The smokiness of the bacon provides a great balance to the sweetness of the root vegetables. Alternatively, serve them with baked salmon for a meal that is lighter and faster to prepare.
Remember to plate them right away. If they sit too long, the butter is absorbed and the seared quality is lost. The key to this dish is the delightful contrast between the tender beans and the crispy bacon.
Recipe FAQs
Ways to jazz up canned green beans?
Sauté them with rendered bacon fat, diced onions, and minced garlic.
Tip: Finish with a squeeze of fresh lemon juice to brighten the flavor.
Is it true canned green beans lose all their nutrition?
No, this is a common misconception. Canned beans retain most of their vitamins and minerals during the processing phase.
Tip: Rinse them thoroughly under cold water to reduce the sodium content.
What is the best way to prepare canned green beans?
Rinse the beans well and stir fry them in a skillet for 4-6 minutes.
Tip: Use medium high heat to get a slight sear rather than steaming them.
Which seasonings best enhance canned green beans?
Stir in smoked paprika and cracked black pepper during the final minute of cooking.
Tip: Add the butter and garlic at the very end to prevent the garlic from burning.
Can these be served with other dishes?
These savory beans complement hearty meals like an easy lasagna soup.
Tip: The smokiness of the bacon balances well with creamy or tomato based dishes.
Why do canned beans get mushy when microwaved?
Microwaves heat unevenly and trap steam, which breaks down the already soft canned texture.
Tip: Reheat in a skillet over medium heat for 3-5 minutes to restore the sear.
Canned Green Beans With Bacon