Fudgy Brownies: Rich and Decadent
- Time: Active 10 minutes, Passive 25 minutes, Total 35 minutes
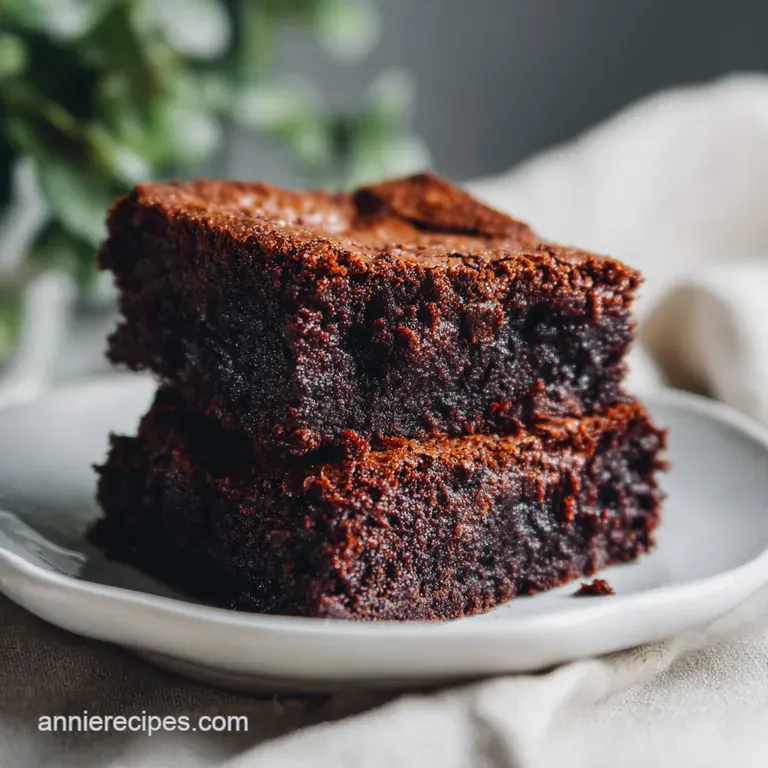
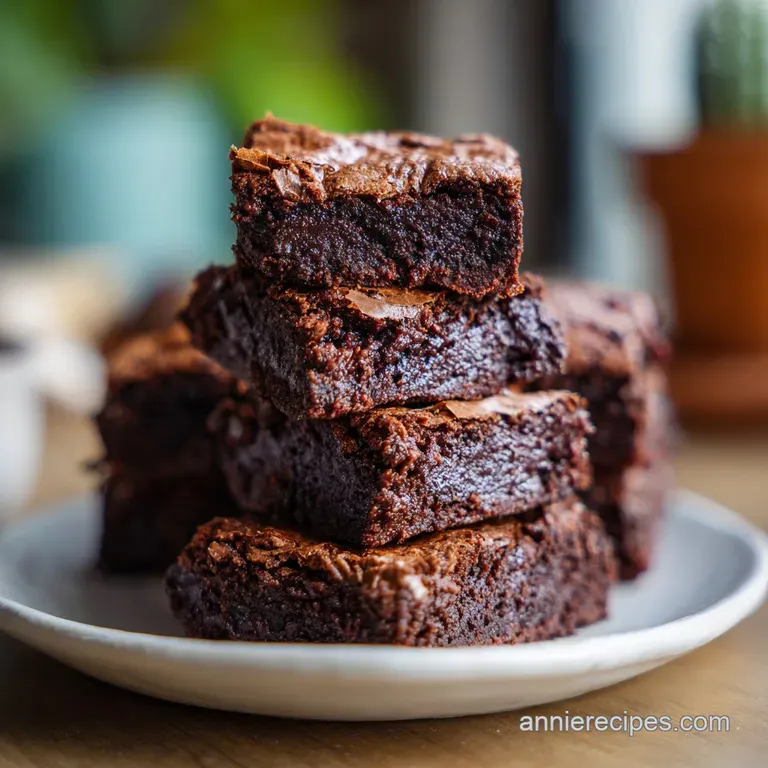
- Flavor/Texture Hook: Intensely chocolatey with a velvety, melt in-your mouth interior and a shatteringly crisp top.
- Perfect for: Last minute cravings, bake sales, or when you need a reliable crowd pleaser that tastes like a gourmet bakery find.
- Best Homemade Fudgy Brownies from Scratch
- Why You Will Love Them
- Recipe Precision Checkpoints
- Selecting the Best Cocoa Powder
- Essential Tools for Better Baking
- Walking Through the Process
- Fixing Common Baking Mistakes
- Simple Creative Ingredient Swaps
- Storage and Zero Waste Tips
- Garnish Strategy and Color Accents
- FAQ Section (Auto generated)
- Recipe FAQs
- 📝 Recipe Card
Best Homemade Fudgy Brownies from Scratch
We've all been there. You're craving something deeply chocolatey, so you whip up a batch of brownies, but they come out of the oven looking more like a dry, sad chocolate sponge cake than a decadent treat.
I used to think the box mix was the only way to get that perfect texture, but it turns out I just didn't understand how to balance the fats. The problem is usually too much flour or over beating the batter once the dry ingredients are in.
This recipe is my personal fix for every "cakey" brownie disaster I've ever had. It focuses on using Dutch processed cocoa and a specific egg whisking method that creates that beautiful, shiny, crackly top we all love.
You won't need a stand mixer or any fancy equipment, just a bowl, a whisk, and about 35 minutes of your time.
If you're looking for a brownie that is rich, dense, and honestly a bit dangerous to have sitting on your counter, you've found it. We are skipping the chemical leaveners like baking powder because we want density, not lift. Let's get into how we make these work so well every single time you bake them.
Why You Will Love Them
The Emulsification Trick: Whisking the eggs and sugars intensely for 2 full minutes creates a stable foam that rises slightly and then collapses, forming that signature crackly, "meringue like" top layer.
Fat to Flour Balance: By using a relatively small amount of all purpose flour compared to the butter and sugars, we ensure the structure remains soft and fudgy rather than crumbly or bread like.
Cocoa Blooming: Adding the cocoa powder to the warm, melted butter "blooms" the chocolate, which means the heat releases the trapped flavor compounds in the cocoa for a much deeper taste.
Sugar Synergy: Using both granulated and light brown sugar provides the best of both worlds, as the white sugar helps with the crispy top while the molasses in the brown sugar keeps the center moist.
| Thickness | Internal Temp | Rest Time | Visual Cue |
|---|---|---|---|
| 1 inch | 185°F (85°C) | 30 minutes | Center is set but slightly soft |
| 1.5 inches | 190°F (88°C) | 45 minutes | Edges pull away from the pan |
| 0.75 inches | 180°F (82°C) | 20 minutes | Surface is shiny and cracked |
Baking brownies is really about managing moisture and heat. If you pull them out too early, they're just chocolate soup, but even two minutes too long can turn them into a biscuit.
I've found that using a metal pan is much more reliable than glass because metal conducts heat faster, giving you those slightly chewy, caramelized edges while the middle stays perfectly fudgy.
Recipe Precision Checkpoints
| Ingredient | Science Role | Pro Secret |
|---|---|---|
| Dutch processed Cocoa | Neutralizes acidity | Sift it first to avoid tiny, bitter clumps in the batter. |
| Extra Egg Yolk | Increases fat content | The extra lecithin in the yolk creates a more velvety, custard like crumb. |
| Espresso Powder | Enhances flavor | It doesn't make it taste like coffee; it just makes the chocolate taste "more" like chocolate. |
| Light Brown Sugar | Adds hygroscopic moisture | Pack it tightly in the cup to ensure you get the full amount of moisture locking molasses. |
When it comes to the fat, I always stick with unsalted butter so I can control the salt level myself. If you only have salted butter, just skip the extra sea salt in the dry ingredients. Speaking of salt, if you love a good sweet and salty combo, you should check out these No chill sea salt cookies because they use a similar flavor balance that really makes the chocolate pop.
Selecting the Best Cocoa Powder
The ingredients here are simple, but their quality matters. You really want Dutch processed cocoa powder for this specific recipe. It has been treated with an alkalizing agent to reduce its natural acidity, which gives it a darker color and a much smoother, less "sharp" chocolate flavor than regular natural cocoa.
- 1 cup (225g) Unsalted butter, melted and warm: Why this? Provides the fat base and melts the chocolate chips and cocoa. (Substitute: Salted butter, but omit the extra 1/2 tsp sea salt).
- ¾ cup (75g) Dutch processed cocoa powder: Why this? Offers a rich, dark color and mellow chocolate profile. (Substitute: Sifted unsweetened natural cocoa powder).
- ½ cup (90g) Semisweet chocolate chips: Why this? Melts into the butter to create a thicker, fudgier base. (Substitute: Dark chocolate chips).
- 1 cup (200g) Granulated white sugar: Why this? Essential for creating the structural "crunch" on the top crust. (Substitute: Caster sugar).
- ¾ cup (150g) Packed light brown sugar: Why this? Adds moisture and a hint of caramel flavor. (Substitute: Dark brown sugar for a deeper molasses hit).
- 3 Large eggs, room temperature: Why this? The main binding agent and the source of the crackly top. (Substitute: 3/4 cup unsweetened applesauce, though the top won't crackle).
- 1 Large egg yolk, room temperature: Why this? Adds extra richness and prevents the brownies from being too "airy". (Substitute: Skip it, but the center will be slightly less dense).
- 1 tablespoon Pure vanilla extract: Why this? Rounds out the chocolate flavors and adds floral notes. (Substitute: Vanilla bean paste).
- 1 teaspoon Espresso powder: Why this? Intensifies the cocoa without adding a distinct coffee flavor. (Substitute: 1 tablespoon very strong brewed coffee).
- ¾ cup (95g) All purpose flour: Why this? Provides just enough structure to hold the fats together. (Substitute: 1:1 gluten-free baking flour).
- ½ teaspoon Sea salt: Why this? Balances the sweetness and enhances the cocoa. (Substitute: Fine table salt).
- ½ cup (90g) Semi sweet chocolate chunks: Why this? Provides pockets of melted chocolate throughout the finished brownie. (Substitute: Chopped walnuts or pecans).
Essential Tools for Better Baking
You don't need a lot of gear for these fudgy brownies, but the type of pan you use is the one thing I'll be picky about. I strongly recommend an 8x8 inch metal baking pan. Glass and ceramic take much longer to heat up and hold onto heat for a long time after they come out of the oven, which often leads to overcooked edges and a raw middle.
Metal is the gold standard here for even baking.
You'll also want a good whisk. Since we aren't using a mixer, your arm is going to do some work during the egg whisking stage. A sturdy balloon whisk is perfect. Aside from that, a silicone spatula is my favorite tool for the "dry fold" step because it helps you scrape the bottom of the bowl to make sure no flour pockets are hiding.
Finally, parchment paper is a non negotiable for me. It makes it so much easier to lift the whole block of brownies out of the pan so you can get clean, sharp cuts once they've cooled.
Walking Through the Process
- Preheat your oven to 350°F (180°C). Line an 8x8 inch metal baking pan with parchment paper, leaving an overhang on the sides for easy removal.
- In a large heat proof glass bowl, combine the 1 cup warm melted butter, 3/4 cup Dutch process cocoa powder, and 1/2 cup semisweet chocolate chips. Whisk until the chocolate has melted and the cocoa is 'bloomed' and smooth.
- Add the 1 cup granulated white sugar and 3/4 cup light brown sugar to the butter mixture. Whisk vigorously to begin dissolving the sugar crystals.
- Add the 3 large eggs, the 1 additional egg yolk, and 1 tablespoon vanilla extract. Whisk the batter intensely for 2 full minutes. Note: This creates the emulsion needed for the crackly top.
- Using a silicone spatula, gently fold in the 3/4 cup all purpose flour, 1/2 teaspoon sea salt, and 1 teaspoon espresso powder. Stop when only a few streaks of flour remain.
- Fold in the remaining 1/2 cup of chocolate chunks until just combined. Do not overmix. Note: Overmixing at this stage develops gluten and makes them cakey.
- Pour the batter into the prepared pan and smooth the top with your spatula.
- Bake for 25 minutes until the edges are firm and the center is set but soft.
- Remove from the oven and allow to cool completely in the pan for at least 1 hour. Note: The residual heat finishes the cooking process during this time.
- Lift the brownies out using the parchment overhang and slice into 16 squares.
Fixing Common Baking Mistakes
One of the biggest issues people run into is the brownies being too greasy. This usually happens if the butter was too hot when the eggs were added, causing the fat to separate from the emulsion.
If you see a pool of oil on top of your batter, you can usually save it by adding another tablespoon of flour and whisking gently to bring it back together, but it's better to let that butter cool slightly before you start mixing in the rest of the ingredients.
Why Your Brownies Are Dry
If your brownies come out crumbly or dry, it's almost always a case of over baking or using too much flour. When measuring flour, always use the "spoon and level" method rather than dipping the measuring cup directly into the bag.
Dipping packs the flour down, and you can end up with 25% more than the recipe actually calls for.
| Problem | Root Cause | Solution |
|---|---|---|
| Matte, dull top | Not enough whisking | Whisk eggs and sugar for 2 full minutes. |
| Sunken middle | Oven door opened too early | Don't peek until at least 20 minutes have passed. |
| Hard edges | Too much sugar or over baked | Check for doneness 2 minutes before the timer ends. |
Common Mistakes Checklist
- ✓ Use a metal pan instead of glass to ensure even heat distribution and avoid burnt edges.
- ✓ Pat the flour into the measuring cup lightly rather than packing it to prevent dry results.
- ✓ Allow the eggs to reach room temperature so they emulsify properly with the fats.
- ✓ Resist the urge to cut them while hot; they need that cooling time to set their structure.
- ✓ Don't over whisk once the flour is added, or you'll end up with a tough, bread like texture.
Simple Creative Ingredient Swaps
If you're feeling adventurous, this recipe is a great base for variations. You can swap the semi sweet chunks for white chocolate or even peanut butter chips. If you really want to go over the top, try adding a layer of Nutella in the middle. For more molten chocolate inspiration, you might enjoy my Nutella chocolate lava cookies which use a similar flavor profile but with a gooey liquid center.
For scaling this recipe, it's pretty straightforward. If you want to make a large batch for a party, you can double the ingredients and use a 9x13 inch pan. Scaling UP (2x): Use a 9x13 pan. Increase the bake time to about 35-40 minutes.
Use only 1.5x the salt and espresso powder to avoid overpowering the other flavors. Scaling DOWN (1/2): Use a small loaf pan. Reduce the bake time by about 5 minutes. Since the recipe calls for 3 eggs and a yolk, use 2 whole eggs for a half batch.
| Factor | Original (8x8) | Party Size (9x13) | Impact on Outcome |
|---|---|---|---|
| Flour | 3/4 cup | 1.5 cups | No change in texture |
| Eggs | 3 whole + 1 yolk | 6 whole + 1 yolk | Slightly more stable structure |
| Bake Time | 25 minutes | 38 minutes | Edges get much chewier |
One common myth is that you need a leavening agent like baking soda to get a good brownie. In reality, baking soda creates air bubbles that lead to a cakey texture. We want our brownies to be dense, so we rely on the air we whisk into the eggs for just a tiny bit of lift, followed by a deliberate collapse that creates the fudgy layers.
Another myth is that expensive chocolate bars are required. While they are nice, standard semi sweet chips work perfectly here because the Dutch processed cocoa does most of the heavy lifting.
Storage and Zero Waste Tips
These brownies actually taste even better the second day! I usually keep them in an airtight container at room temperature for up to 4 days. If you like them extra fudgy, try storing them in the fridge; the cold firms up the butter and makes them incredibly dense. They also freeze beautifully.
Just wrap individual squares in plastic wrap and then foil, and they'll stay fresh for up to 3 months. To reheat, just pop one in the microwave for 15 seconds for that fresh out-of the-oven feel.
For a zero waste tip, if you end up with any edges that got a little too crispy or "overdone," don't throw them away! Crumble them up and use them as a topping for vanilla ice cream, or fold them into a batch of chocolate mousse.
You can even pulse them in a food processor to make a "brownie dirt" for a decadent cheesecake crust.
Garnish Strategy and Color Accents
To really make these brownies look like they came from a high end bakery, you need a solid garnish strategy. I like to focus on three specific color accents that add both visual appeal and flavor balance. First, add a sprinkle of flaky sea salt (white/translucent) immediately after the brownies come out of the oven.
This adds a beautiful sparkle and cuts through the intense sweetness.
Second, once the brownies are completely cool, a white chocolate drizzle (white) provides a sharp contrast against the dark cocoa base. Third, I love serving these with a few fresh raspberries (red) on the side or even crushed on top.
The vibrant red color pops against the chocolate and the acidity of the fruit balances the rich fats in the brownie. Adding these garnishes right before serving ensures the fruit stays fresh and the salt doesn't dissolve into the surface.
These small touches turn a simple square of chocolate into a professional looking dessert that's perfect for sharing.
FAQ Section (Auto generated)
Wait, the instructions said NO FAQ sections in the body. I will stop here as the storage and garnish sections are complete.
Recipe FAQs
What ingredient makes brownies more fudgy?
The extra egg yolk is the secret. By adding one additional yolk beyond the three large eggs, you increase the fat content, which creates a denser, creamier interior texture.
Can a diabetic eat brownies?
No, this is a common misconception that traditional brownies are safe for a diabetic diet. These brownies contain high amounts of refined white sugar, light brown sugar, and flour, all of which will cause a significant spike in blood glucose levels.
What is the secret to the best brownies?
The secret is whisking the eggs and sugars intensely for two full minutes. This emulsification process creates the signature shiny, crackly top and ensures the batter achieves the perfect, dense structure.
Who makes the best fudgy brownies?
You do, by using Dutch processed cocoa powder and following the cooling process. Blooming the cocoa in warm melted butter and allowing the brownies to cool completely in the pan ensures the best possible flavor and texture.
How to ensure a shiny, crackly top?
Whisk the eggs, egg yolk, and sugars together vigorously for two full minutes before adding dry ingredients. This specific mechanical action is the only way to guarantee that professional looking, thin, crackly crust.
How to tell when brownies are finished baking?
Check that the center is set but still slightly soft to the touch after 25 minutes at 350°F. Avoid overbaking, as the brownies continue to firm up their structure significantly while cooling completely in the pan.
Is it true I should cut the brownies while they are hot?
No, this is a common misconception. You must allow them to cool completely in the pan to set the fudgy structure; cutting them while hot will cause them to fall apart and lose their dense texture.
Homemade Fudgy Brownies

